

A Closer Look At My Camera Rig
Over the last while, I’ve been working to perfect my camera rig and feel I’ve landed on something I’m really happy with. Finding ways to have the equipment fall away and focus on the moment has always been most important and I feel I’ve found that with this rig.

The Foundation: The Nikon Z 8
At the heart of my setup lies the Nikon Z 8. The form factor of these smaller cameras has always attracted me but I had always wished for a bit more resolution. With the Nikon Z 8, I now have this. Unlike ‘box cameras’ that are on the market that solve my size and resolution desires, what they don’t have is the ability to ALSO shoot high quality photos and time-lapses. For me, what the Nikon Z 8 also solves these additional needs I have as a creative.

Building Blocks: Camera Accessories
When building out the ideal rig for how I prefer to operate, simplicity is my preference. I want a simple rig that allows me to shoot all day long. Let's take a closer look at the components that complement the Z8 and elevate my shooting experience:
Lens Selection
The Nikon Z series lenses are my go-to choice for their quality, reliability and how smooth the auto-focus is. My favourite ‘run-and-gun’ lens is the 24-70mm 2.8. For my A CAM, this is the lens I have on most often when capturing any story or supporting footage. For interviews, I will most often pivot to primes. I also have the adapter to use my old Nikon lenses but the auto-focus is too sloppy for proper operation and I do not rely on these older lenses when wanting to rely on auto-focus. If using manual focus, the old lenses work fine.
Wish List: I am still waiting for a 24mm and 35mm f 1.2 prime in Nikon’s Z Line. I hope this comes out soon.
The Cage

Small Rig Nikon Z 8 Cage
The cage is the base of the system and allows you to build out your system. I have purchased two different cages for my Nikon Z 8’s. I first purchased the original SmallRig cage and then bought the SmallRig Night Eagle. The original cage is much better as the Night Eagle removes the cold shoe above the Z 8 mark on the top right side - where I like to mount my on-board shotgun. I will be replacing the Night Eagle with the original cage.
Right Side Handle

Nikon MC-N10 Remote Grip
The key part of this kit that allows it to work so well is Nikon’s MC-N10 side handle which allows you to control many settings on your camera when operating.
Tilta Quick Adjust Rosette Adapter
With this side handle, I also wanted the ability to quickly change its position. To do this, I purchased the Tilta Quick Adjust Rosette Adapter.

NICEYRIG ARRI Style Rosette Mount Adapter
Because of the placement of the card door, you will need a rosette offset so that the handle is not in the way of the door. I purchased the Niceyrig offset.
Left Side Handle & Follow Focus

SmallRig Push-Button Rotating NATO Handle, Quick Release Handgrip
For my side handle, I wanted to make sure I was able to quickly adjust it’s positioning and after purchasing a few handles, I landed on the adjustable one from SmallRig.
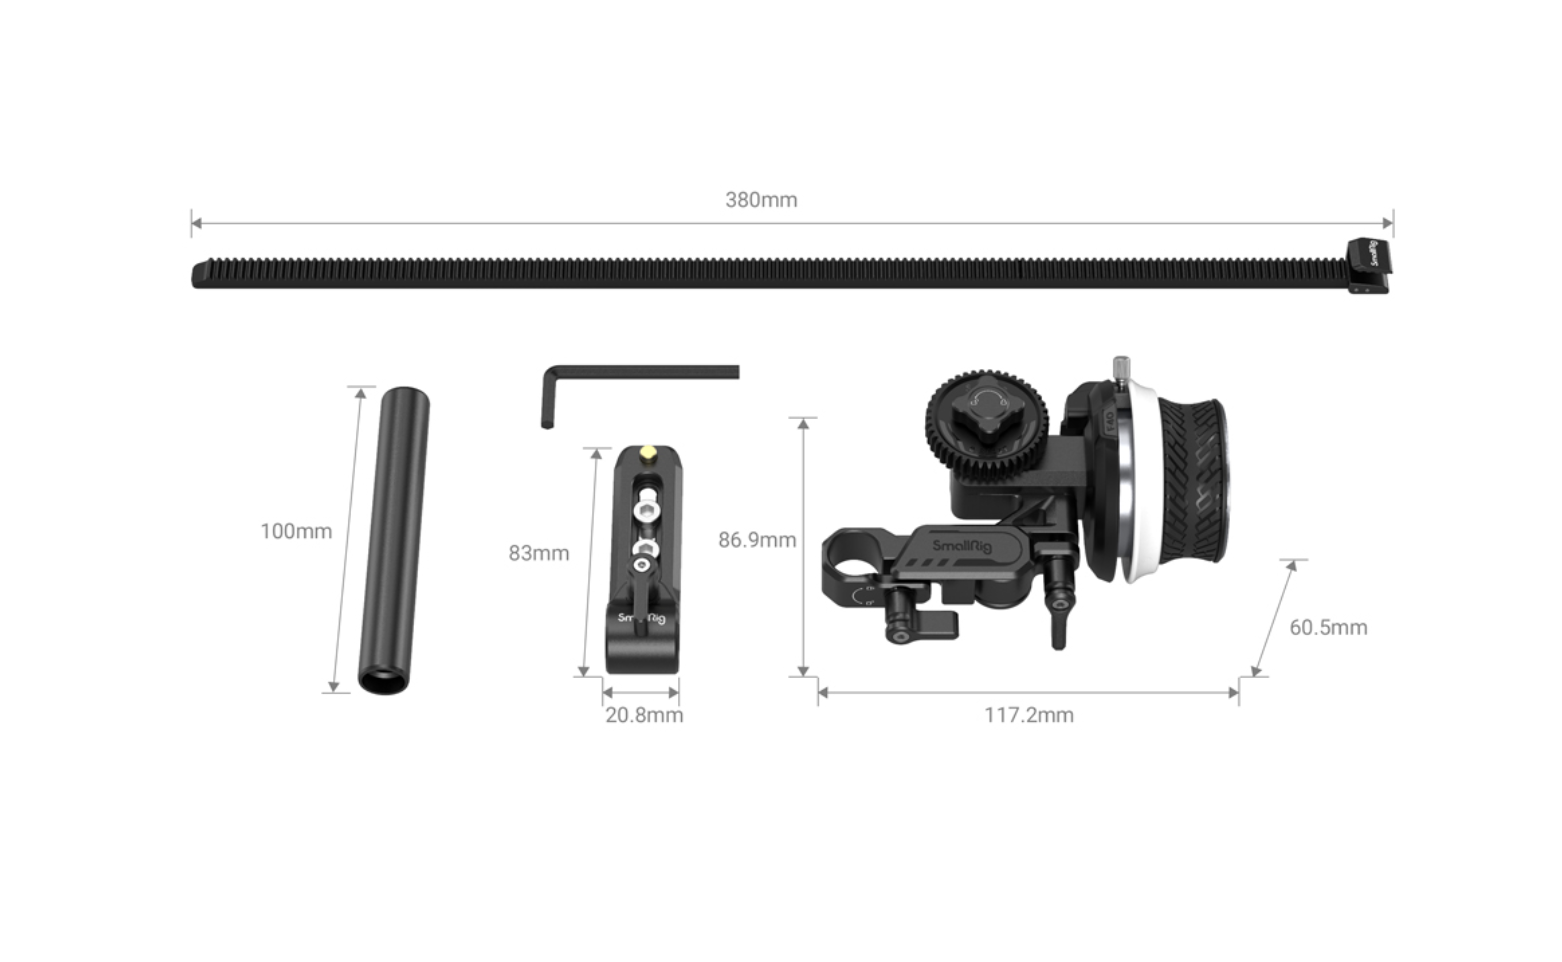
SmallRig mini Follow Focus
In most situations, I use auto-focus with this setup. That being said, I still rig up a follow focus in situations where I want to manually control the barrel of the lens. I chose the SmallRig follow focus because of how small it is. I have larger follow focus systems but since I want to keep the rig small, I also wanted a small solution here. I rarely use it and could see stripping this off but for now, it is still a part of this build. To mount the follow focus, I use the included NATO rail / rod mount. I use the top portion of the NATO rail to attach the left side handle.
Top Handle
I don’t have a huge preference or comment on monitor here. High bright is the preferred for outdoor operation. That being said, I’ve considered the Hollyland Mars M1 since it has transmitting built in - though it is not a high bright monitor so would need to test first. With my monitor (Feelworld High Bright), I use a NPF to D-Tap adapter to allow powering via the vmount battery.

SmallRig Cable Clamp
To keep the cables somewhat under control, I use the SmallRig Camera Cable Clamp from the monitor down to the rig. That helps keep things clean on the top handle.

SmallRig Monitor Mount
This is how I mount my monitor to my top handle.

16x9 Kong Quick Release Adapter for Easyrig
This is how I connect my top handle to my easyrig when I need to get the weight off my arms.
Audio Solutions
Crisp, clear sound is essential for any production. When I don’t have a sound mixer on location, I leverage the Rode Wireless Pro kit. Of all gear I’ve come across over the last few years, this has to be a favourite.

Rode Wireless Pro & Rode Videomic
I start be connecting my on-board Rode Shotgun microphone to one of the transmitters. I then use the second transmitter for a wireless lapel microphone when filming a subject. From there, I then patch the receiver into my Z 8 microphone port. What this gives me is a great redundant system. I record both audio tracks on the Rode Wireless Pro receiver and then pass that track through into the Nikon Z 8, where I can monitor the audio through the headphone jack. It’s not perfect audio, but it is pretty darn good!
In post, I then will leverage the voice enhancer and dialog leveller to clean up that audio. In situations where the location noise is really loud, I have used Adobe Podcast with good results as well. Adobe Podcast removes a lot of the high end but I’ve found a quick EQ after can fill in some of that area.
Filtering
Filtering is another area, like lenses and tripods where you may want to spend a bit more money to ensure you don’t have a lot of colour casting issues. This equipment will last longer than other pieces of your kit as well. That being said, I went cheap on this end and am happy with the results. When it came to filters, I tend to rely on a .9 and 1.2 for exteriors and 1/4 and 1/8 Black / Pro mist filters.
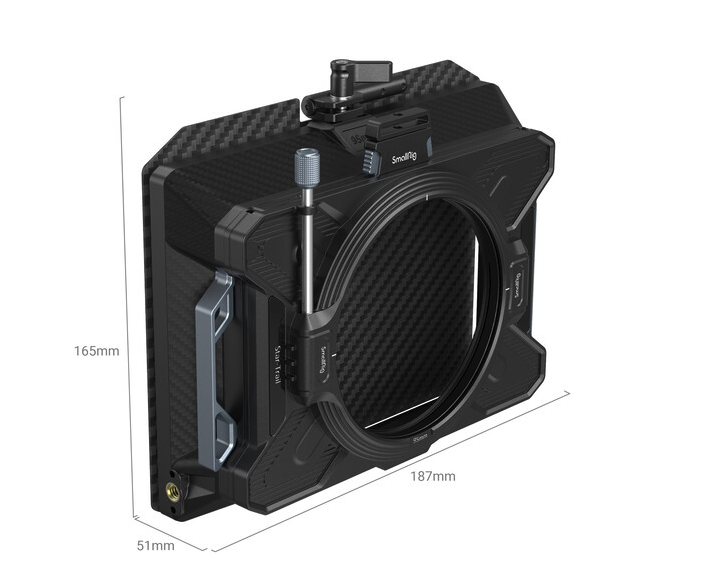
SmallRig Star-Trail Lightweight Multifunctional Modular Matte Box Basic Bundle (95mm Back)
I chose the SmallRig Star-Trail Matte Box with Stackable filter tray accessory.

SmallRig Stackable Filter Tray Set for Star-Trail
The base kit only has one filter tray and I need one for ND and one for manipulation (black mist / pro mist etc)
Battery plate
Being able to power the entire rig off of one battery makes it much easier to operate throughout the day. Instead of managing multiple types of batteries, you can change one and be good to go.
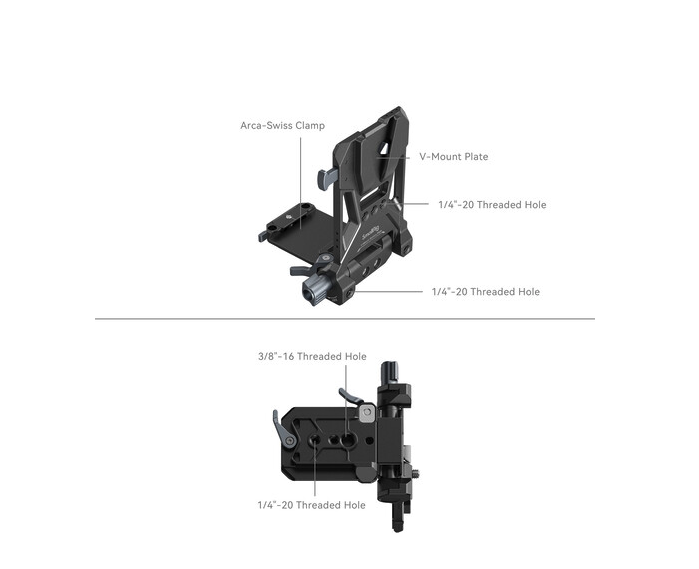
SmallRig V-Mount Battery Mounting Plate
I opted for a cold shoe mount style plate to keep the rig slim. The disadvantage of this approach is that you have to disconnect all accessories powered by the battery each time vs using a plate that has all the connectors on the plate.

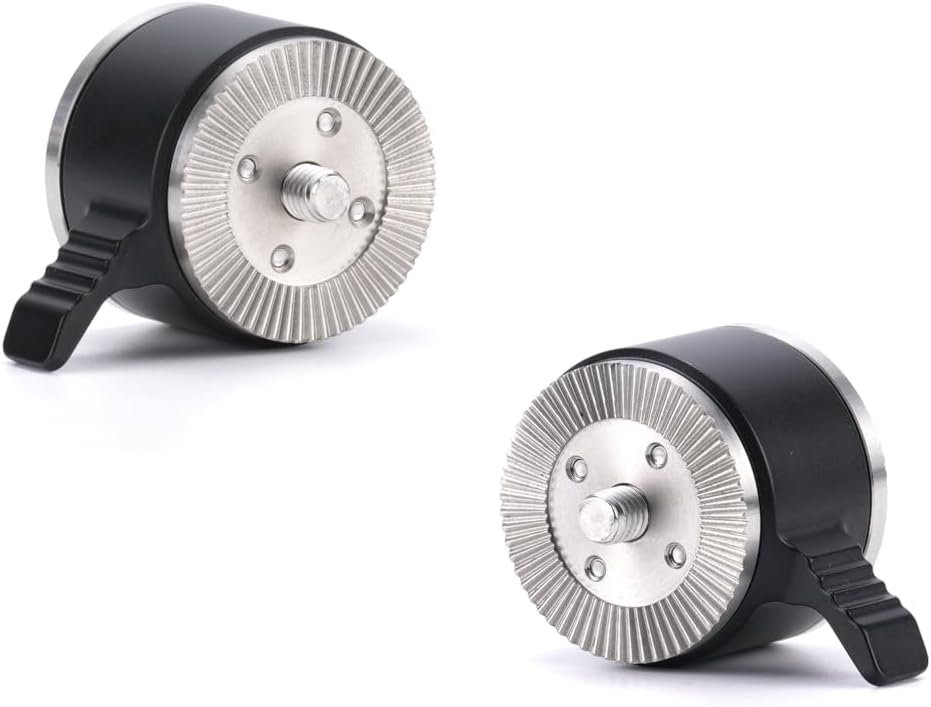
Kessler Crane Kwik Stand
I use the quick stand so that the camera sits flat when on a table. it also clicks into Arca Swiss plates much nicer.
Batteries
I use a bunch of different flavours of batteries - some with USB-C PD, others with just D-Tap. In those scenarios, I use the Kondor Blue USB-C to D-Tap to power the Nikon Z 8 and D-Tap splitter if the battery only has one D-Tap port.
Gimbal Operation
I currently use the DJI Ronin 3 Pro, which I love. I started with the original Ronin and not only was it a bigger setup, it also was harder to operate. I have my old one for sale if anyone is wanting it!
Small Mode
For small mode, I strip my camera down. Because I built most of the kit off NATO rails, I am able to quickly remove the top handle and left side handle. I then convert the NATO rail attachment to Rosette on the gimbal and attach a Tilta arm for the Nikon MC-N10 side handle. When operating in my ‘smaller mode’, I will use the camera monitor for monitoring.
Upside down and attached to Easyrig
Of all setups, I have to say I love this mode the most for dynamic shots. When used in combination with the Easyrig, it is true magic. I will post a picture here of my setup when I have a moment.
When using the DJI Ronin 3 Pro in upside down mode, I use the Nikon side handle (MC N10) on the right side, and mount the monitor to the left side when it is upside down. I then use an eye hook bolt on the bottom of the handle to mount my Easyrig / Flowcine / 16x9 Kong Quick Release Adapter setup. When rigging up in this upside down mode, I use a C-Stand to help with rigging and balancing.